Return to the site. Keep the context.
Open a dated 360° capture, look around the room and swipe against BIM from the same viewpoint.
The information.
The context. The next step.
Scattered photographs lose their location and date. A structured capture history gives site and office teams a common visual reference they can revisit as work progresses.
 360° Reality CaptureIllustrative workflow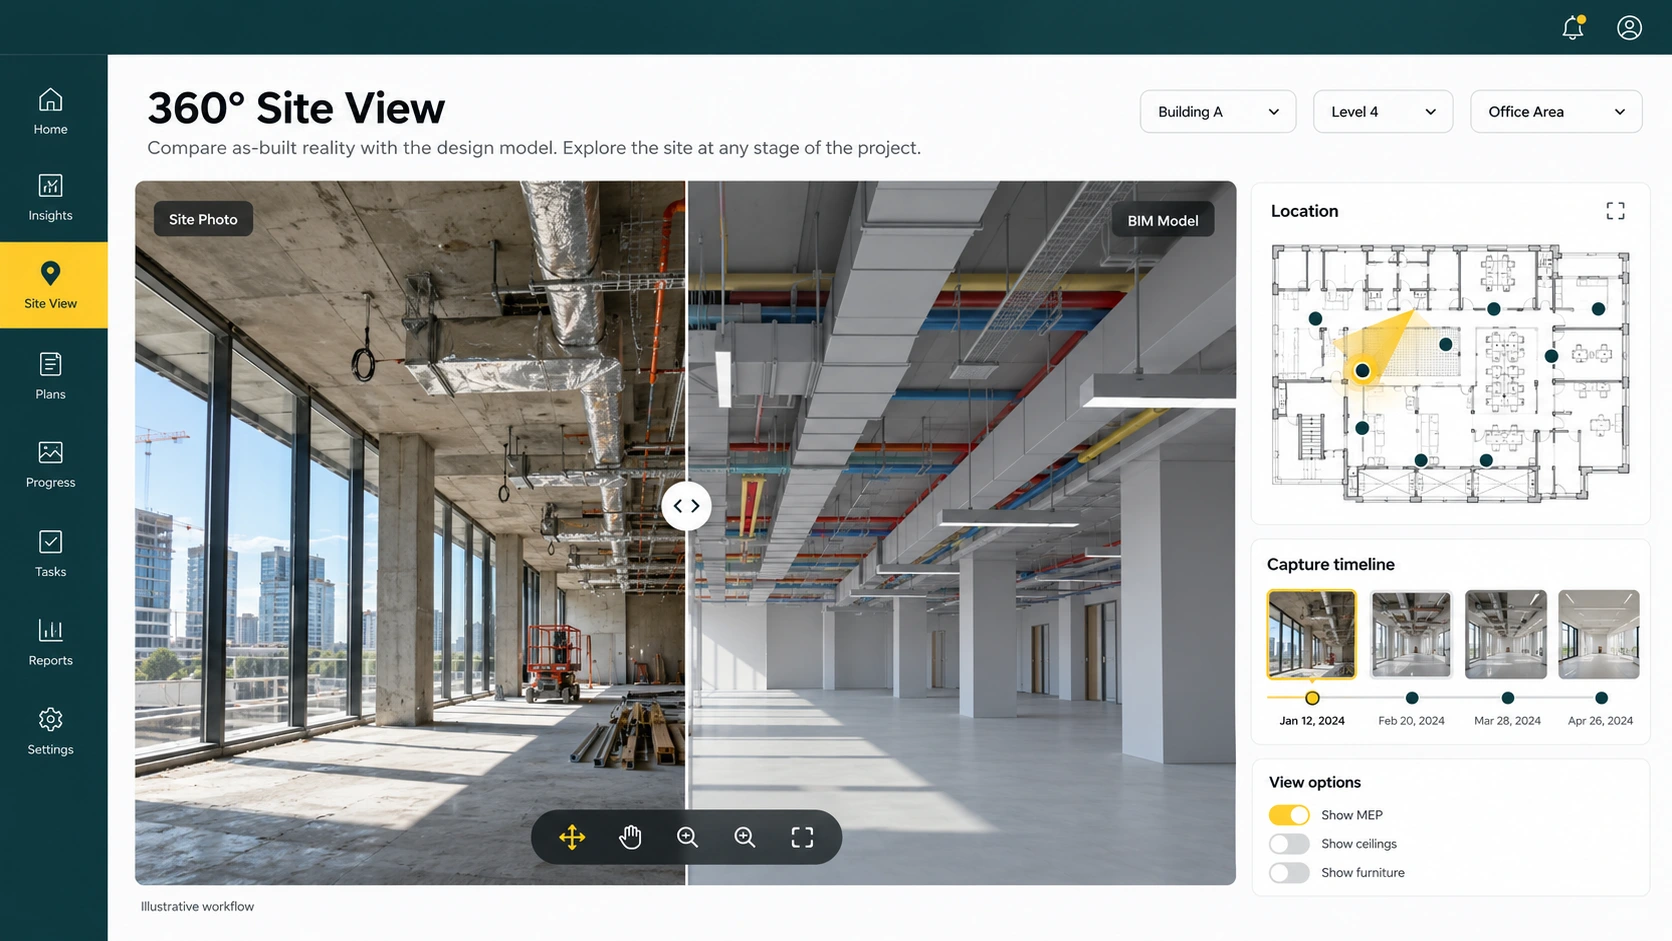
From source information to a useful action.
- 01
Locate
Choose the building, floor and room.
- 02
Compare
Look around the aligned site and BIM views.
- 03
Report
Record the installation issue for the team.
An office engineer needs to review a ceiling installation.
Open the dated capture for the room, look towards the services and reveal the BIM design. Discuss what is visible and decide whether a further site inspection or a formal issue is required.
Capabilities and delivery scope.
The capture workflow includes manual alignment. Automated route mapping and 3D reconstruction are future directions.
- 360° image uploads
Upload a spherical image and keep its capture reference with the project.
- Building, level and zone organisation
Connect evidence to a recognisable building, floor and room.
- Fixed capture stations
Revisit an established viewpoint rather than searching through unrelated photographs.
- Dated capture versions
Inspect the same area across successive visits and capture dates.
- Manual alignment workflow
Review positioning and orientation against the plan and model reference.
- BIM comparison and issue reporting
Compare visible site conditions with design intent and describe observations.
A clearer starting point.
Does a capture prove all work is complete?
No. It records visible conditions at the capture time. Obstructed and hidden work needs additional evidence.
Is this website showing client data?
No. The comparison and interface illustrations use fictional imagery and synthetic model geometry.
Bring one project question. Leave with a clearer scope.
Walk through the relevant workflow, source information and rollout requirements with the BIMerge team.